
Watch the tutorial video and follow the steps.
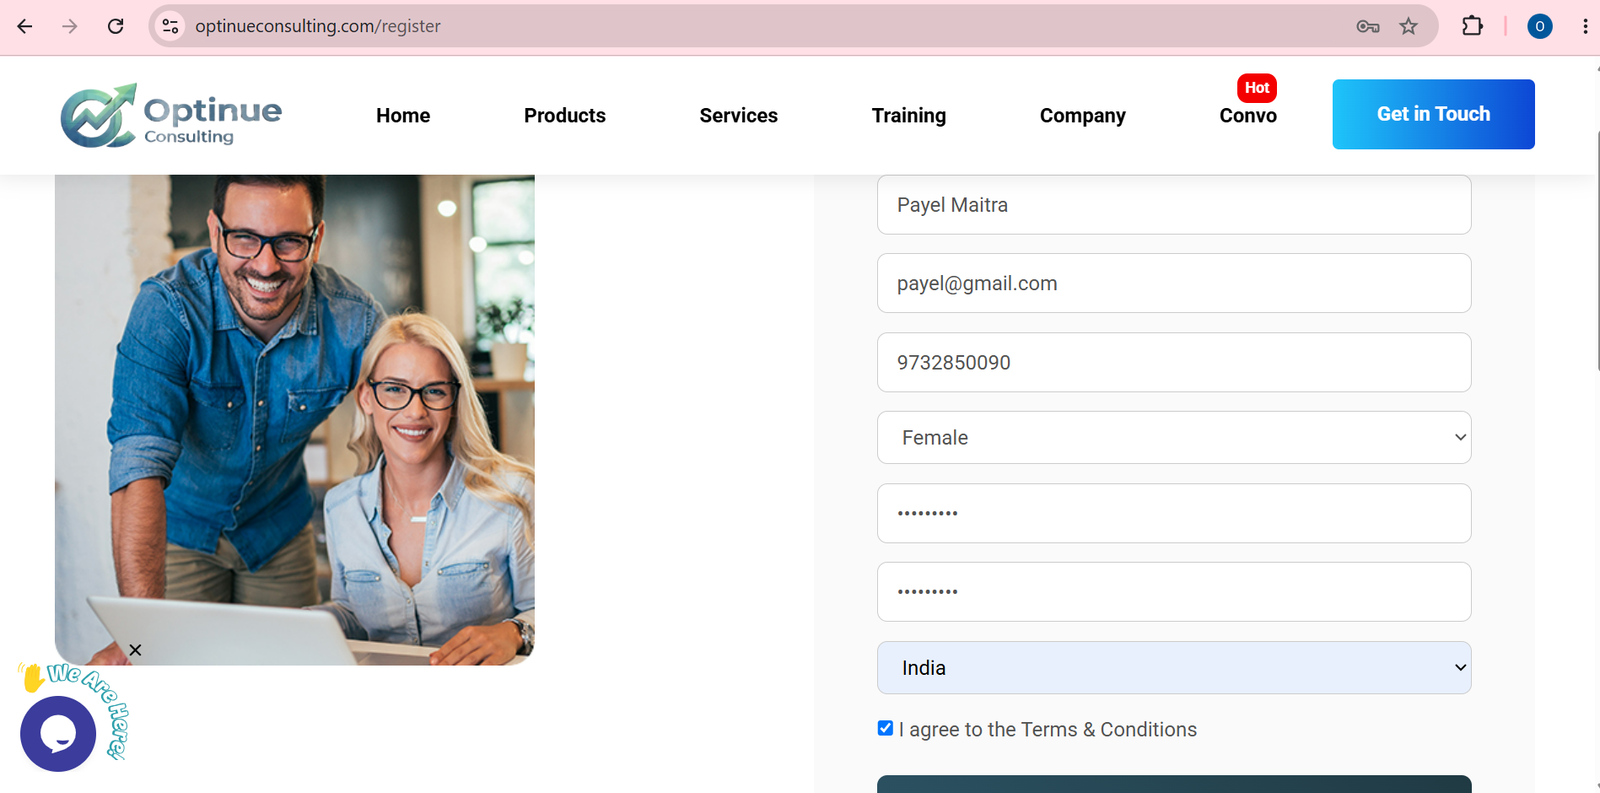
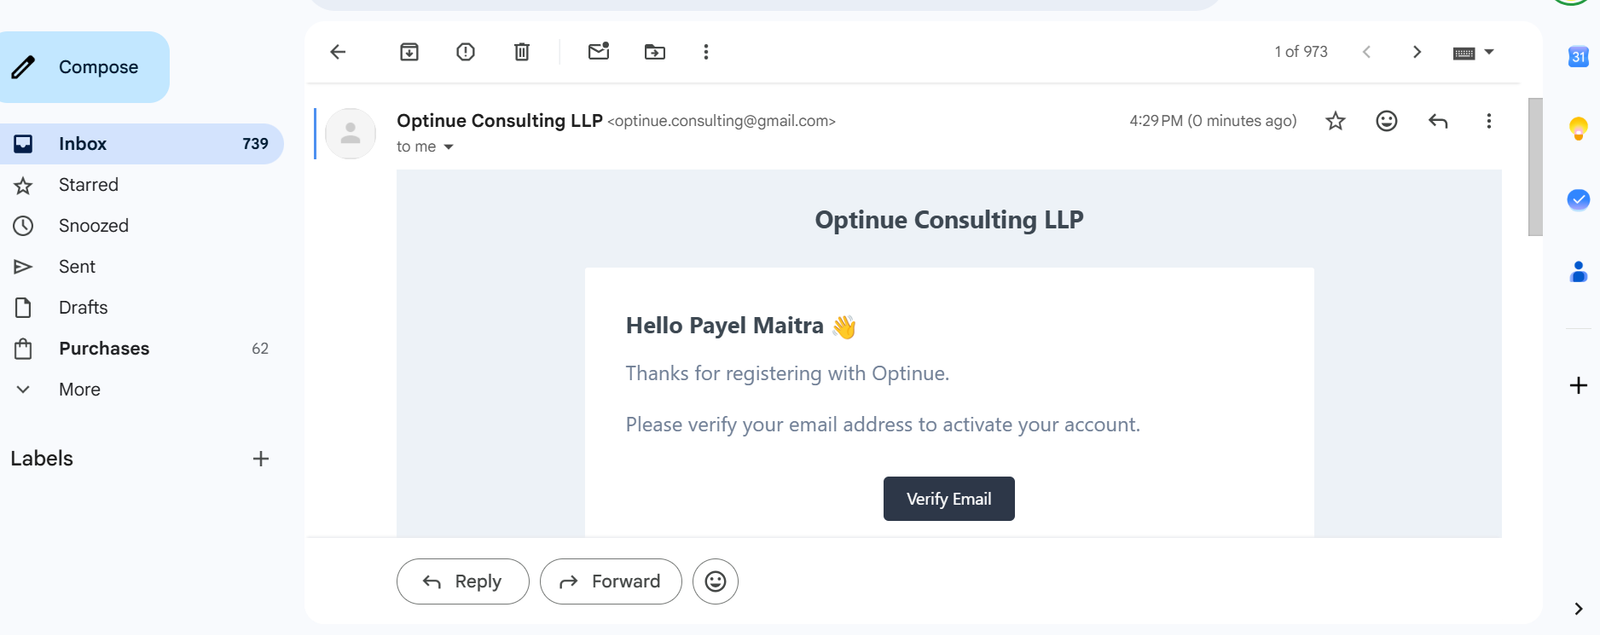
Verify your email address from mail inbox
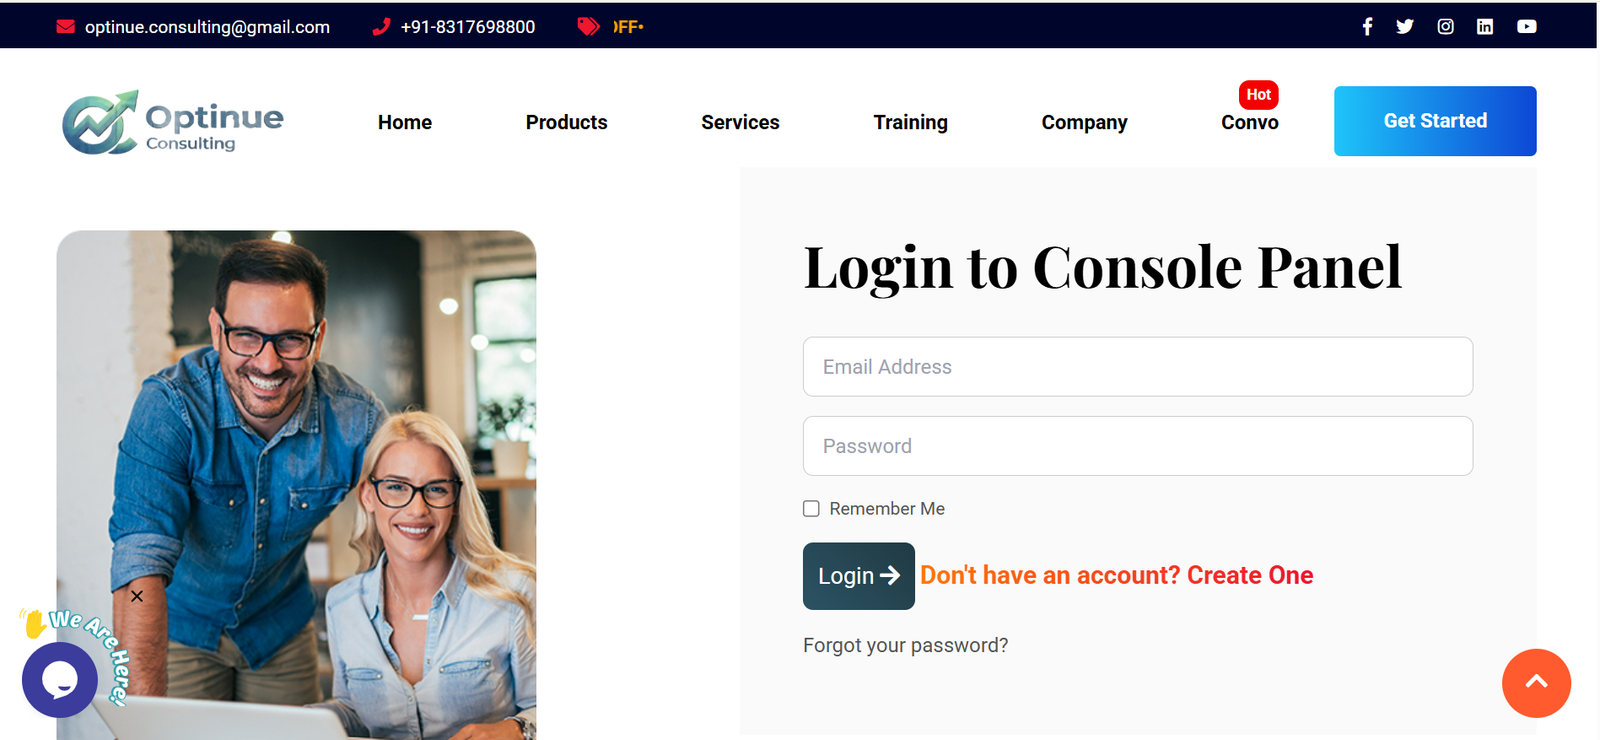
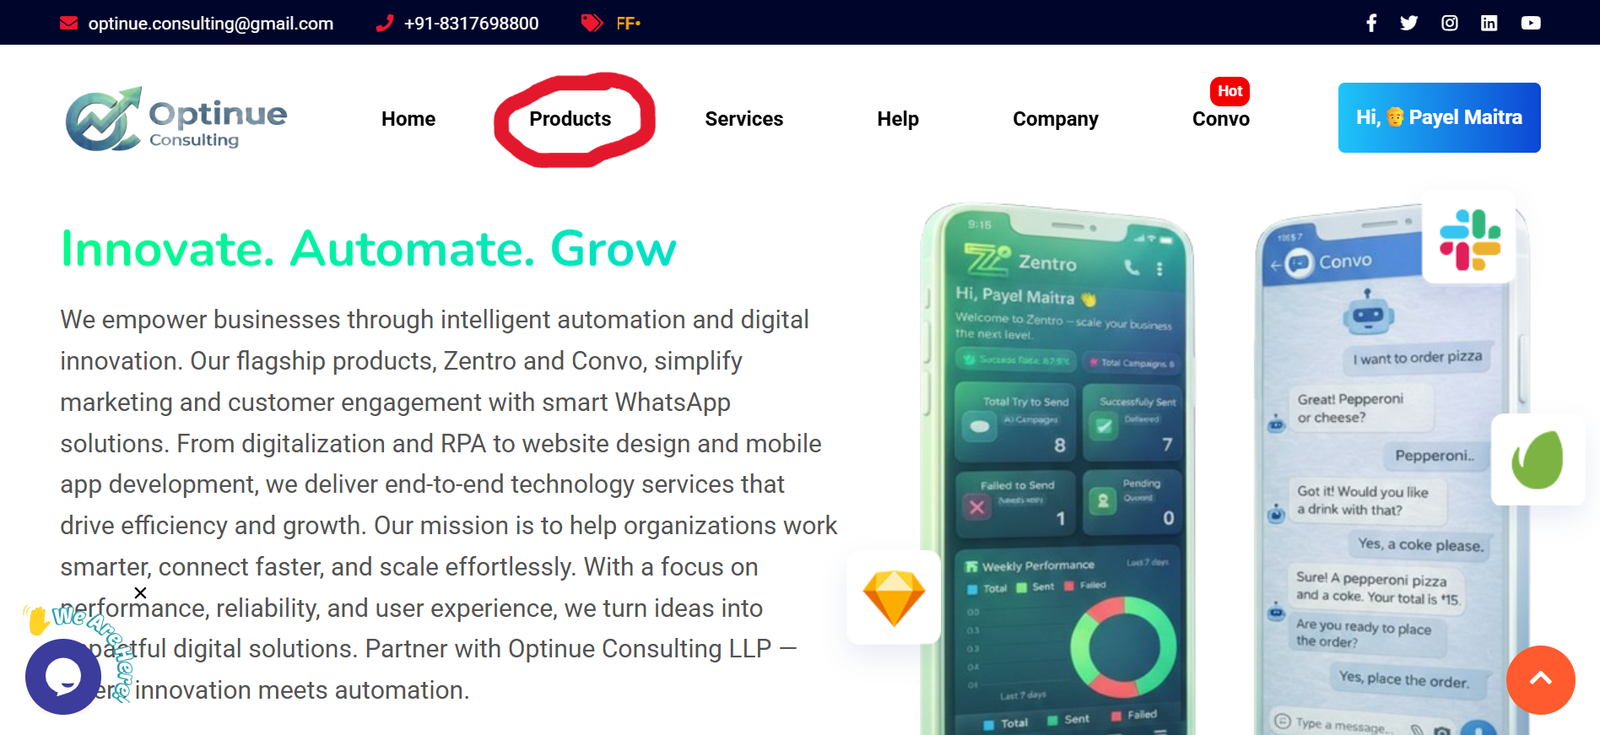
Open the Product page from header menu or your console panel
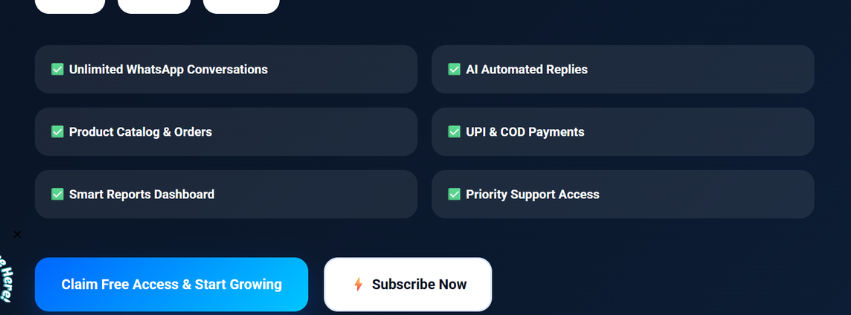
1. Claim Free Trial or Subscribe Product from product page 2. Click or hit 🚀 Claim Free Access & Start Growing button for Trial. You will be not charged now ,but you will see refundable amount ₹5. You will be charged after trial period. 3. Click or hit ⚡ Subscribe Now button for Real Subscription. You will be charged now 4. Complete the payment process with your favourite payment method.
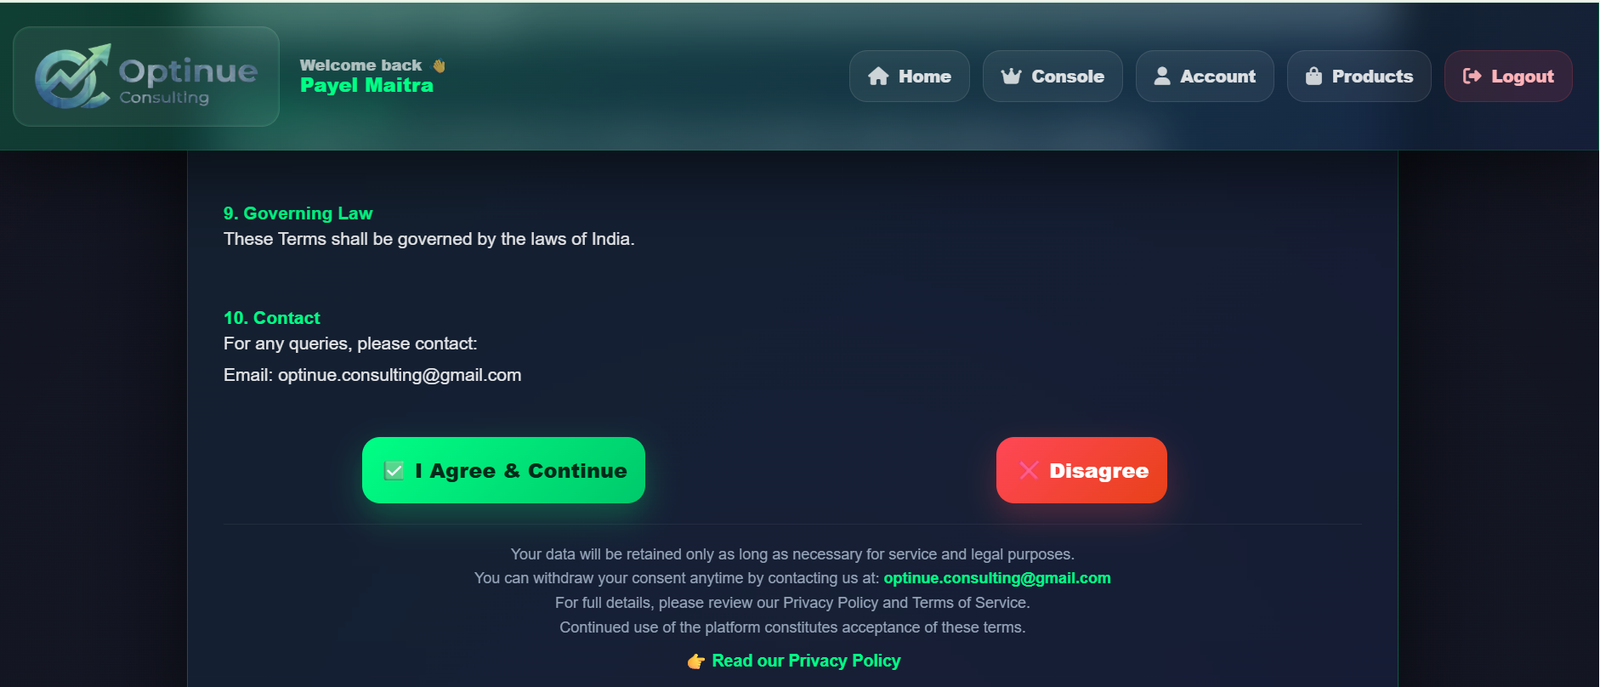
Accept the consent clicking I Agree & Continue button in consent page
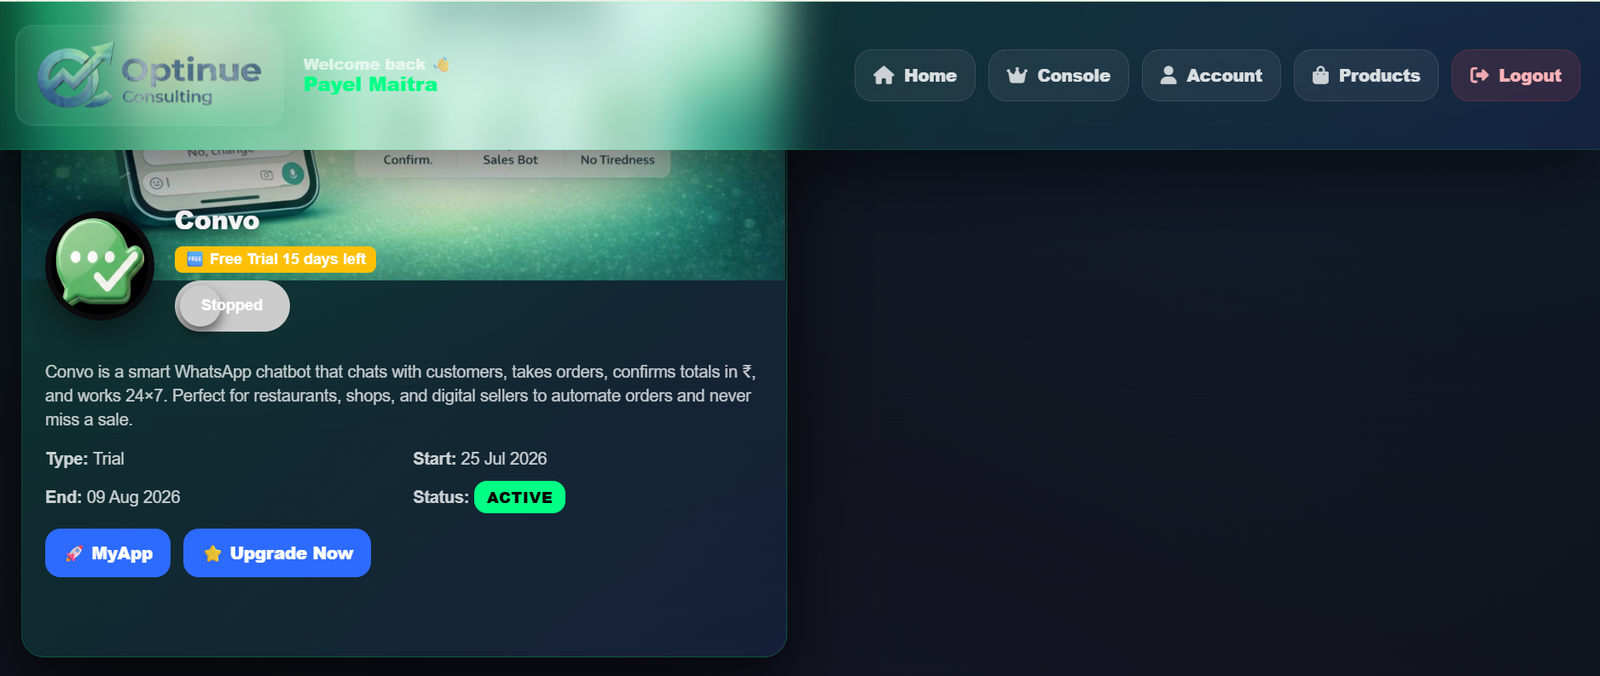
Congratulations! Now you are in Console Panel.
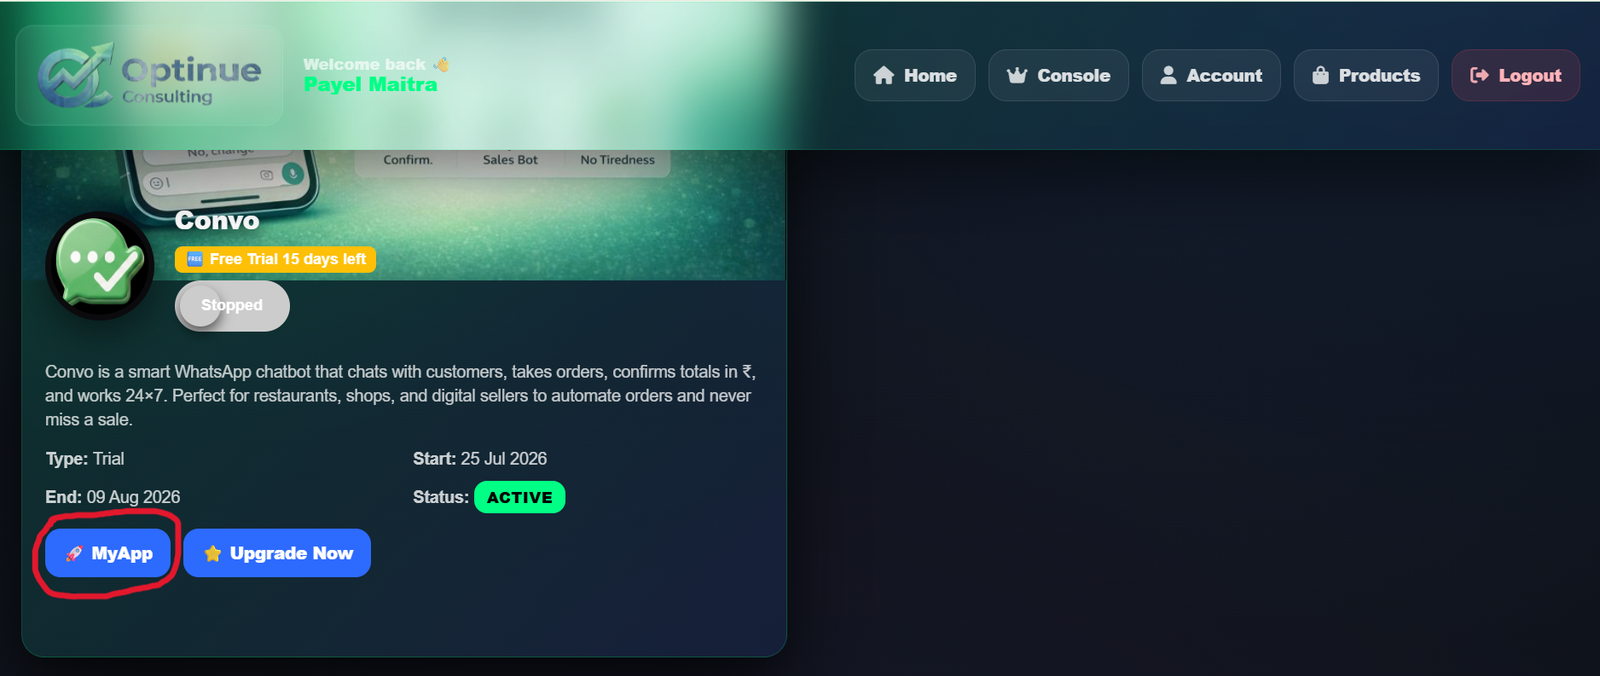
Go to your application by clicking MyApp button.
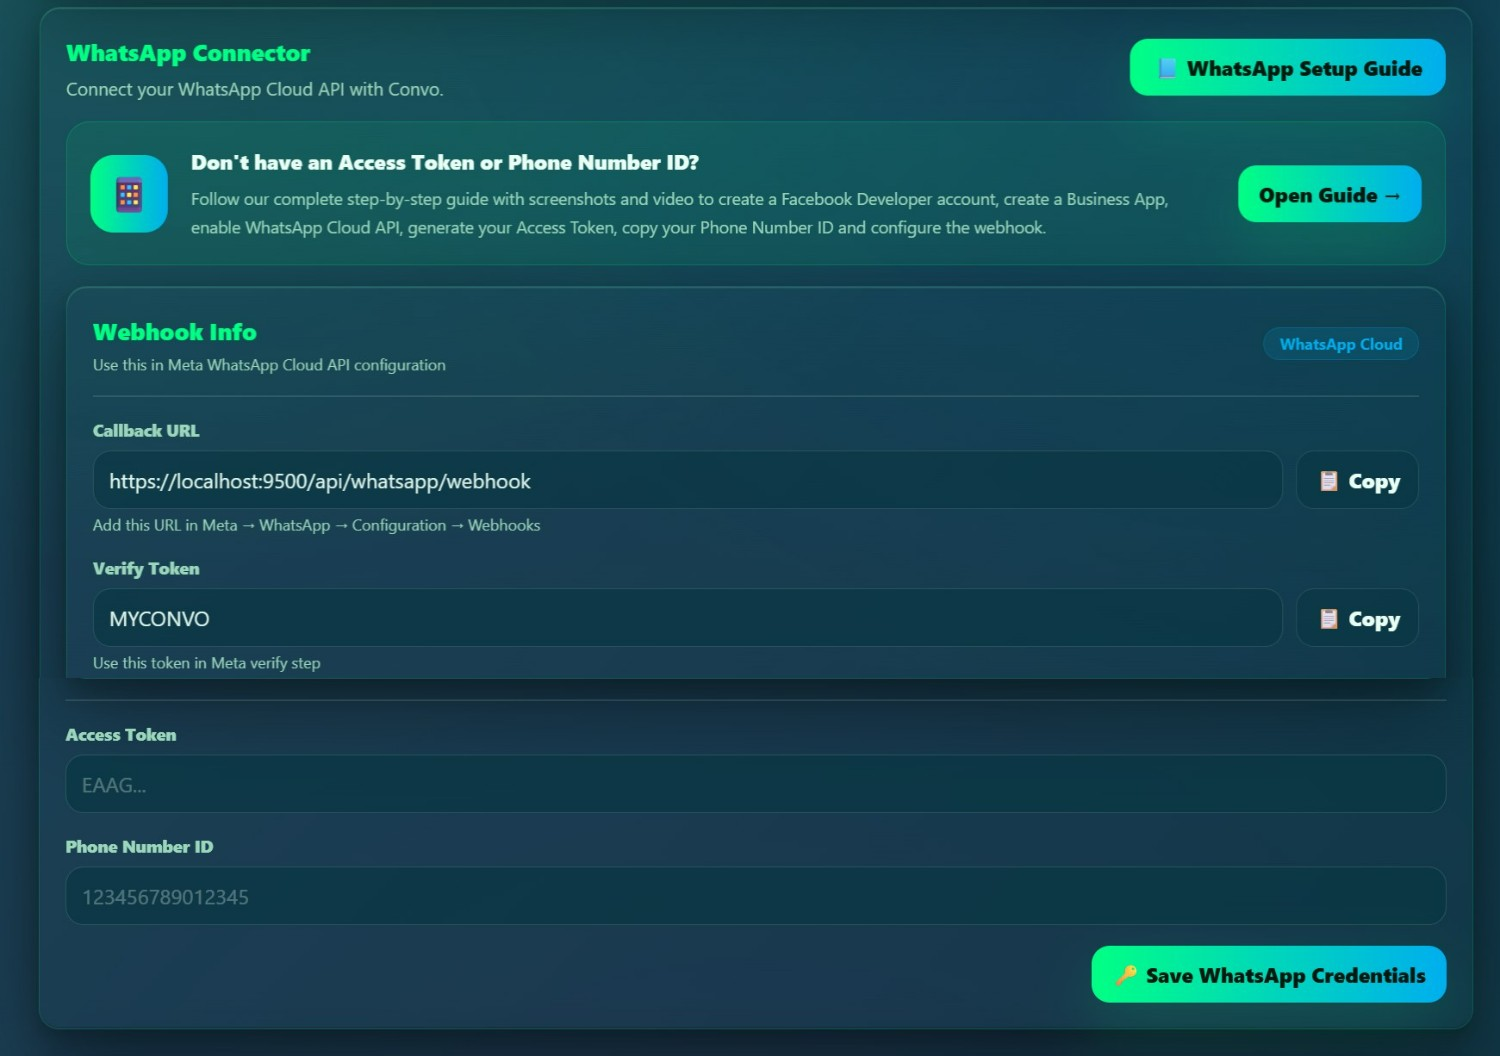
Setup WhatsApp Access Token & Phone Number ID in Account → WhatsApp Setup section.You can Open Guide for getting help. 1. Click Account Section. 2. Go to WhatsApp Connector. 3. Use Callback URL and Verify Token in your Facebook App Webhook Configuration 4. Fill Acces Token and Phone Number ID from your Facebook App 5. Click 🔑 Save WhatsApp Credentials button to save
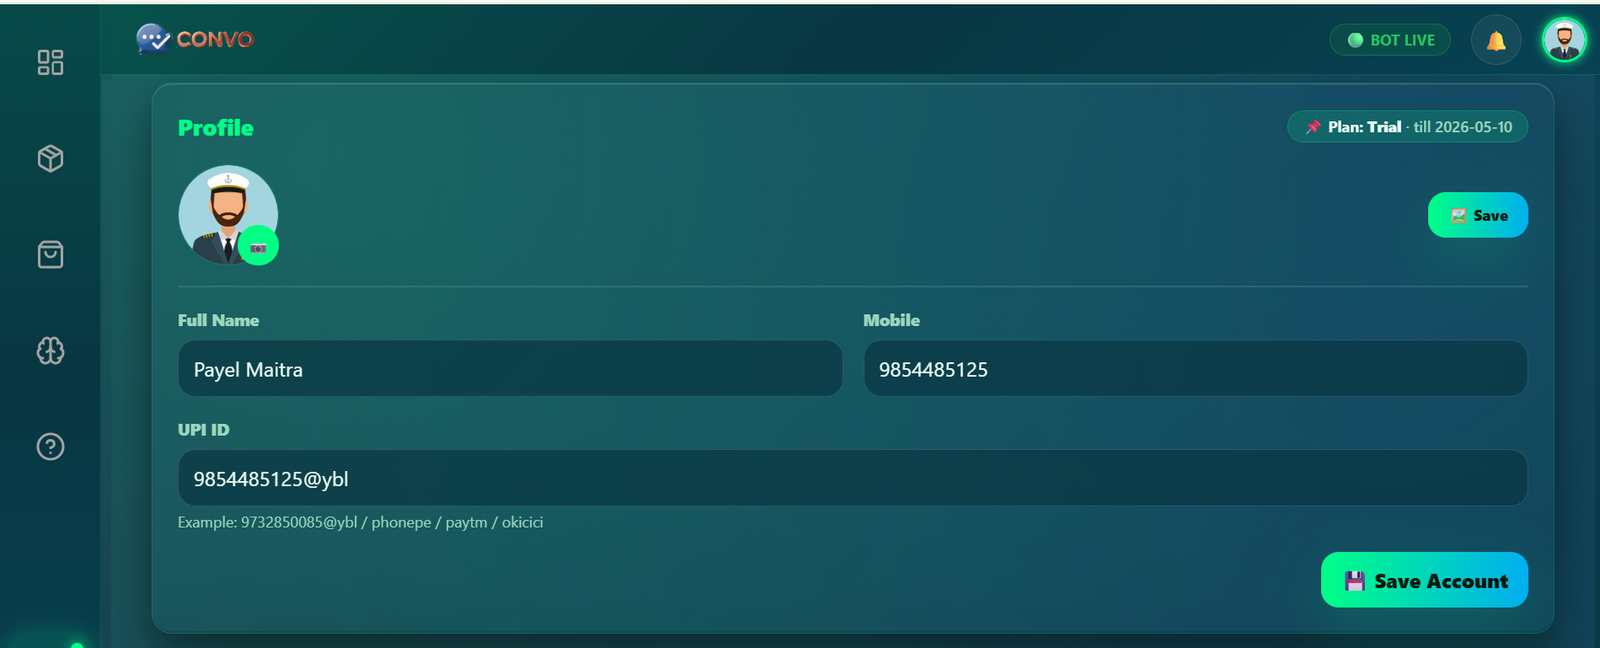
Add your UPI ID in Account → Profile section,If you want to get payment from customer through online upi id or QR code by Chat Bot 1. Enter full upi id example.9873376856@ybl for phonepe. 2. Click Save Account button to save
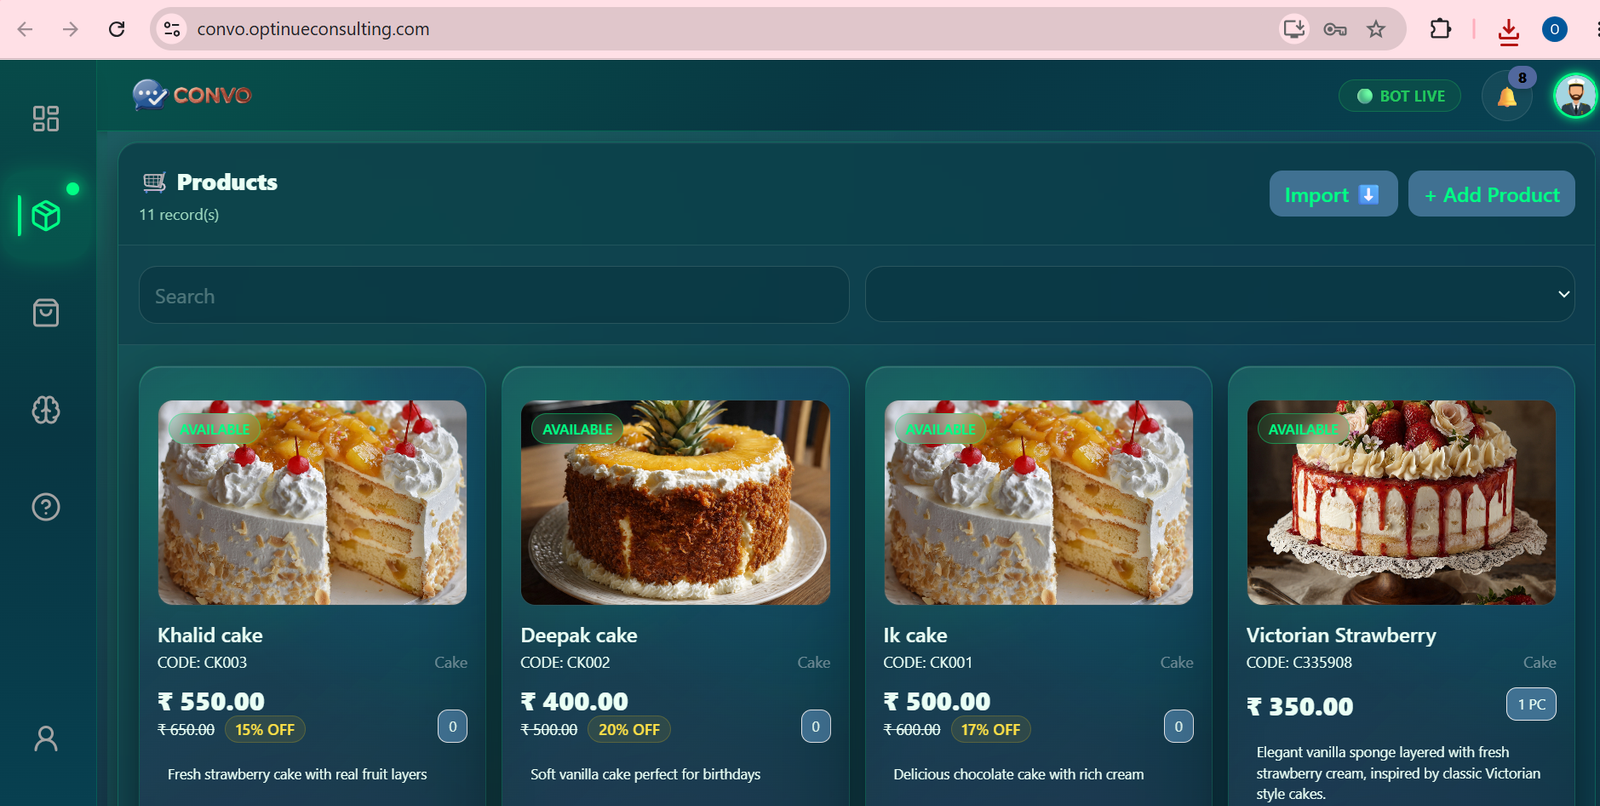
***Add your products*** 1. Click Add Product button 2. Fill product name Eg: Chocolate Truffle (Black & 500gm), category Eg: Cake or Momo, selling price ex:399,unit eg: 1 PC,Short Description,Image 3. Click Save Product button to save product ***Add multiple products through Excel sheet*** 1. Click Import button 2. Click Download Excel Template button to download template file 3. Prepare the product excel file Filling unique code eg:CK001 for cake product, product name Eg: Chocolate Truffle (Black & 500gm),selling price ex:399,mrp price ex:499, category Eg: Cake or Momo,unit eg: 1 PC,status eg:active|inactive,Short Description 4. Click Import from Excel button and upload your Prepared product excel file.
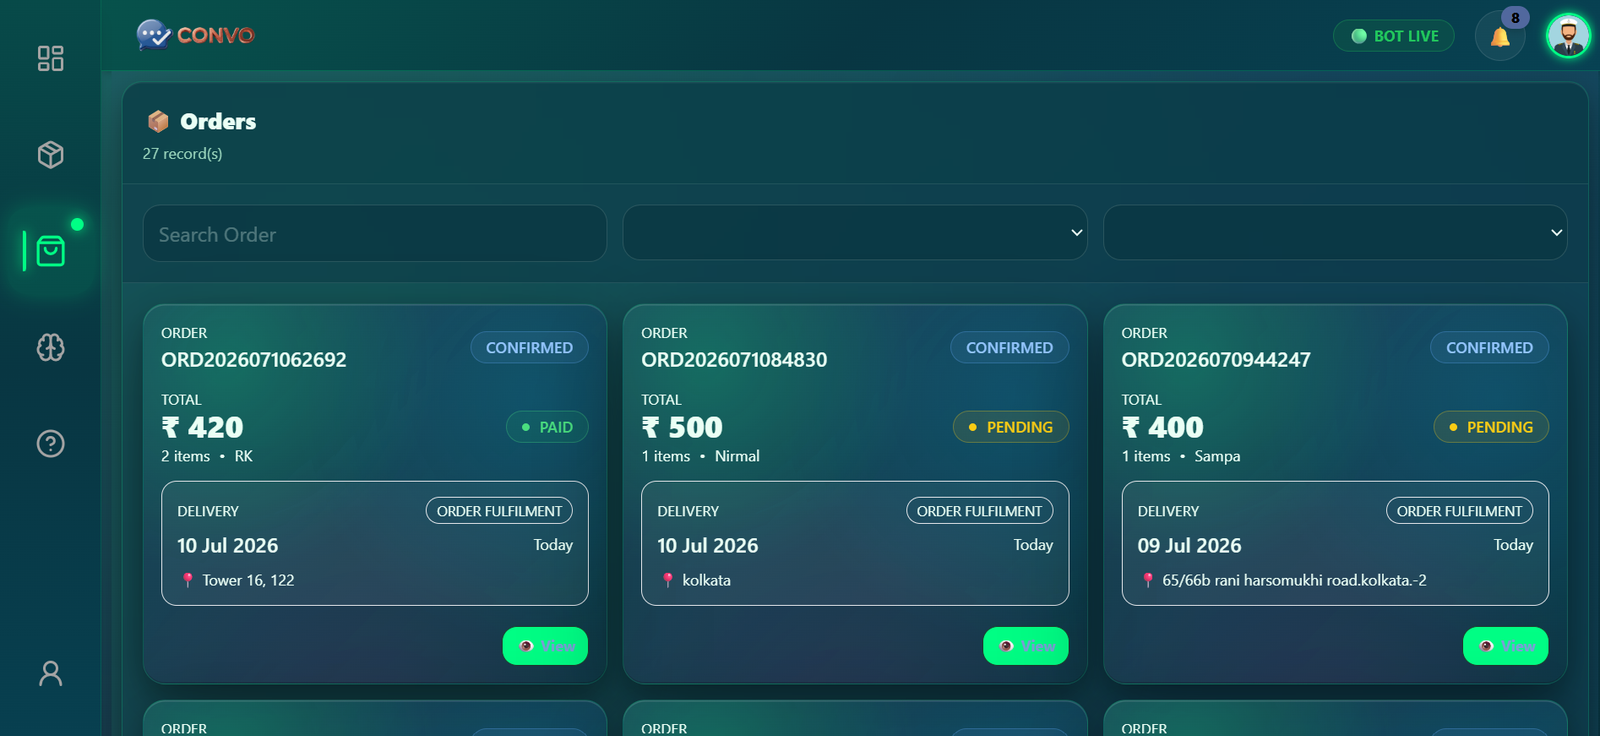
Process customer orders. 1. Go to Order List from left menu 2. Click View button in specific order 3. Review order(customer name,phone,date,item(s),payment) and change order to current status 4. Check Send WhatsApp notification option if you want to send whatsapp notification to customer number. 5. Click Update Status button to update order
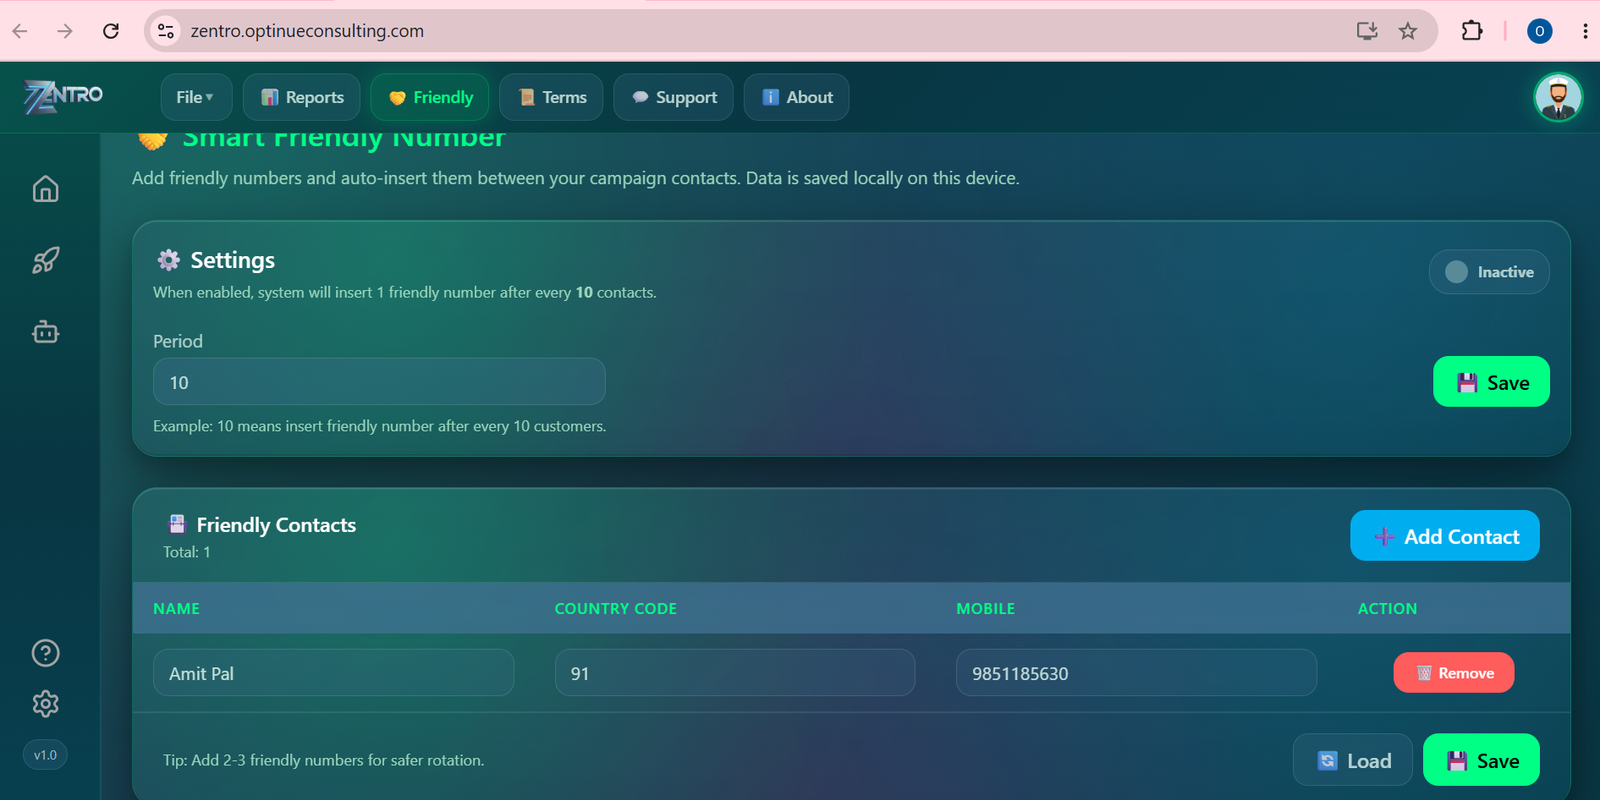
Add at least 10 friendly WhatsApp numbers to reduce the chance of your WhatsApp account being blocked.
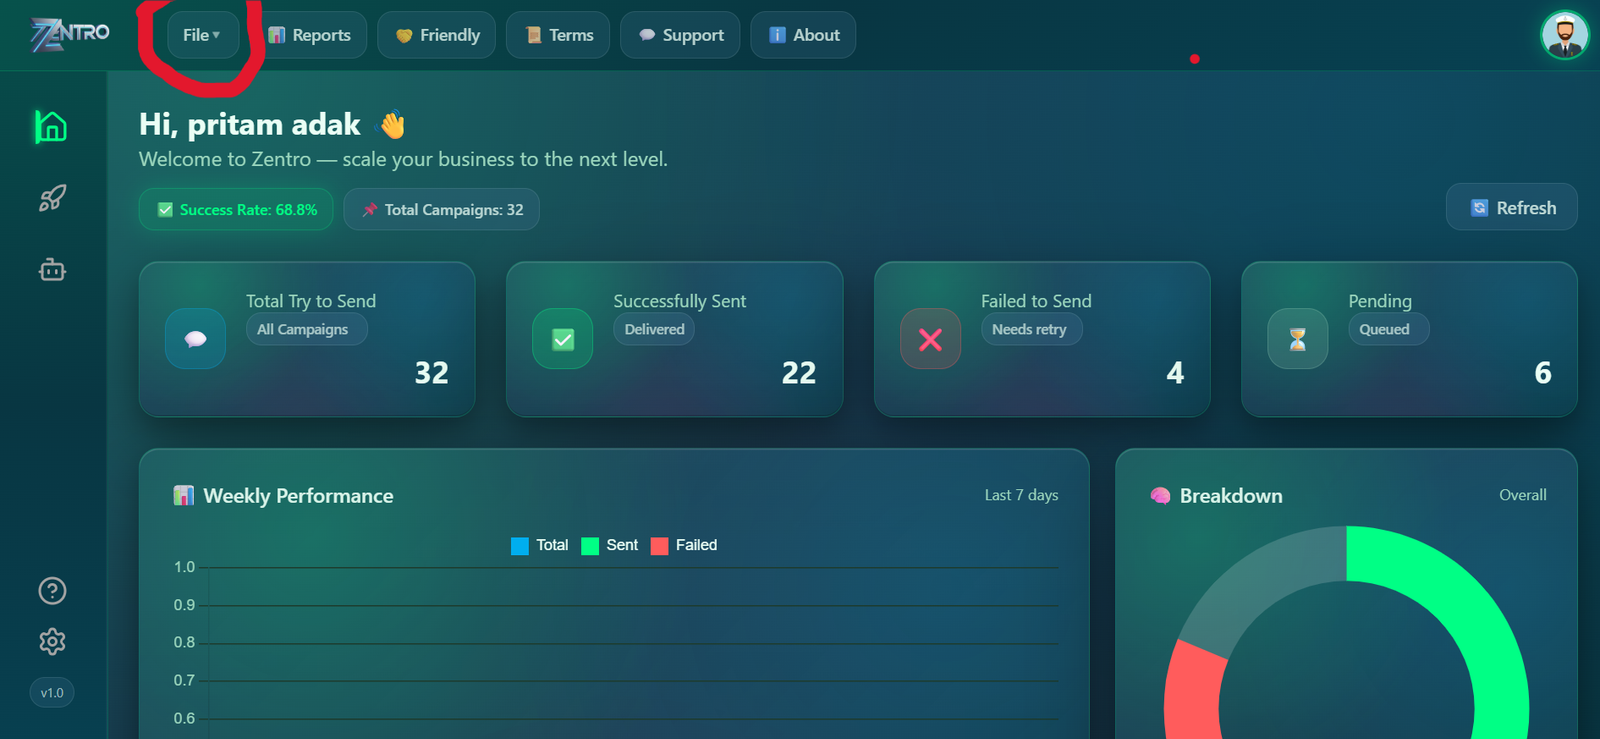
Download the Excel template from the File menu and add all your contacts.
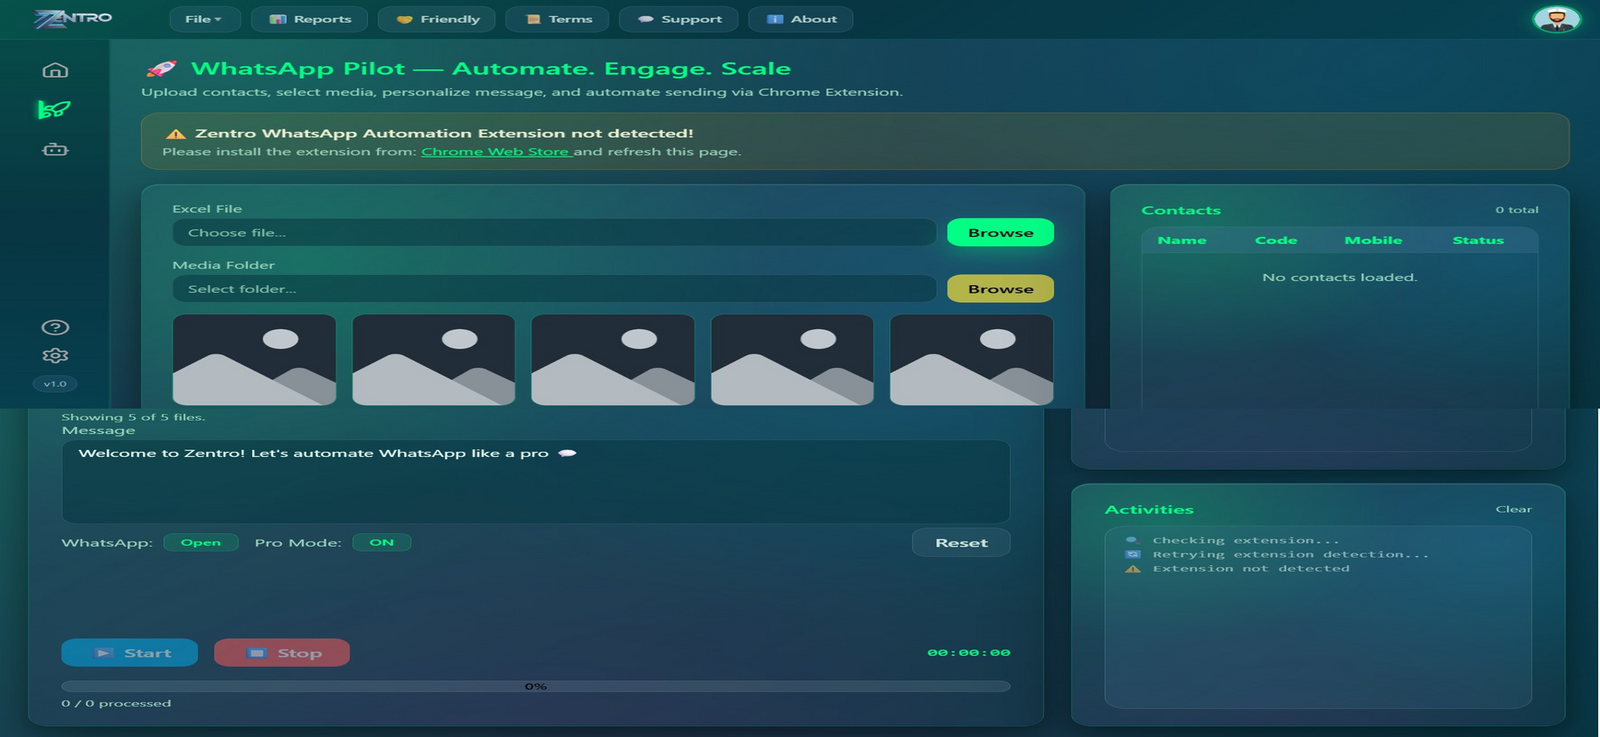
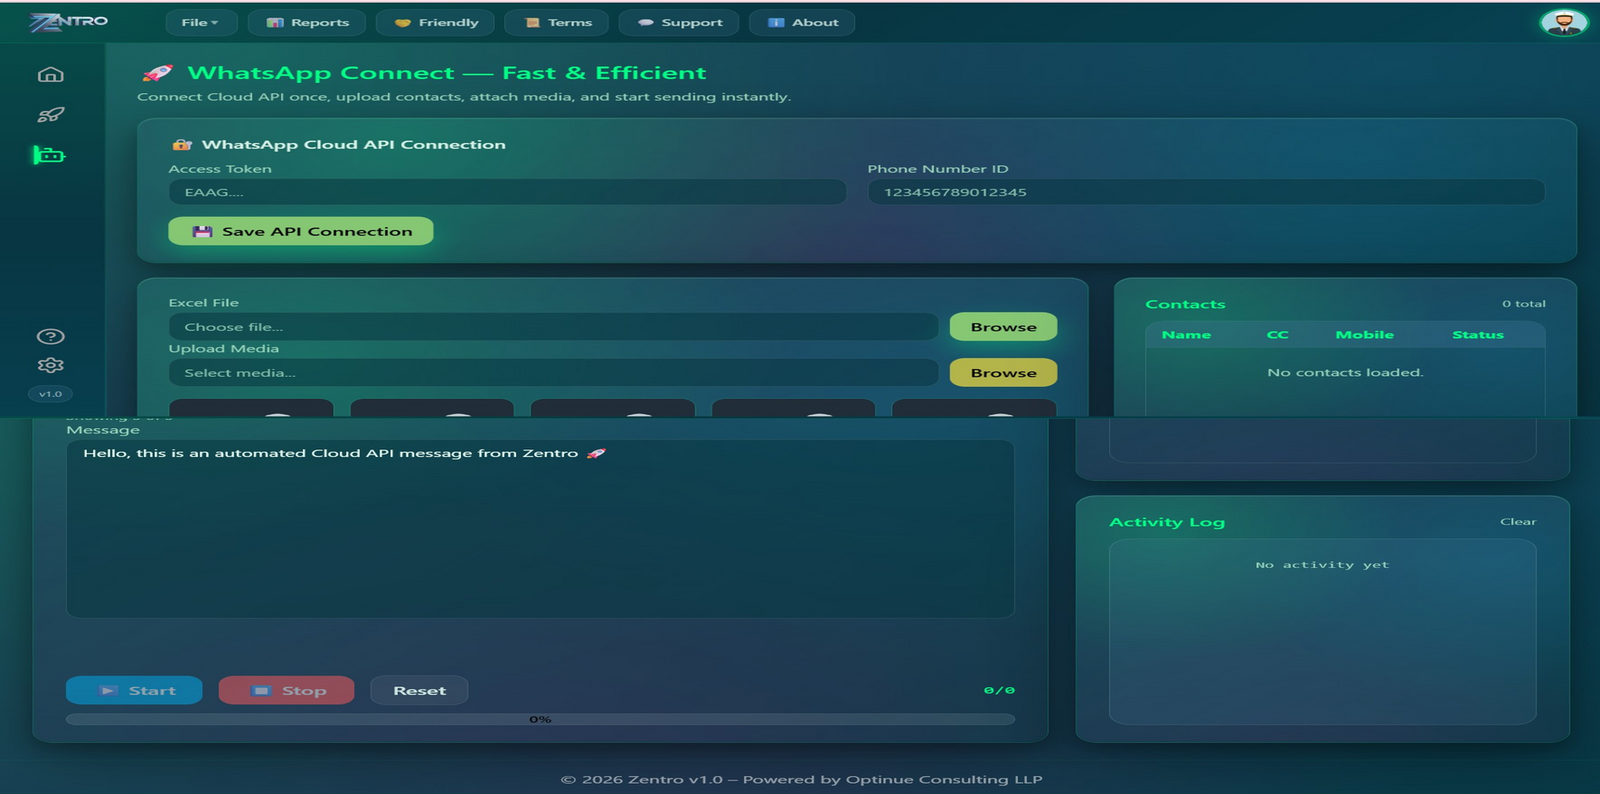
We empowers businesses through intelligent automation, digital innovation, and smart solutions that enhance efficiency, engagement, and sustainable growth.
Get In Touch