📱 Facebook WhatsApp Setup Without Webhook

Follow this guide step by step to create your Meta Developer account, Business App, WhatsApp Cloud API, Access Token and Phone Number ID, then connect everything with Zentro.

🚀

â–¶ Complete Video Tutorial


1

Create Facebook Developer Account

First create a Meta Developer account.
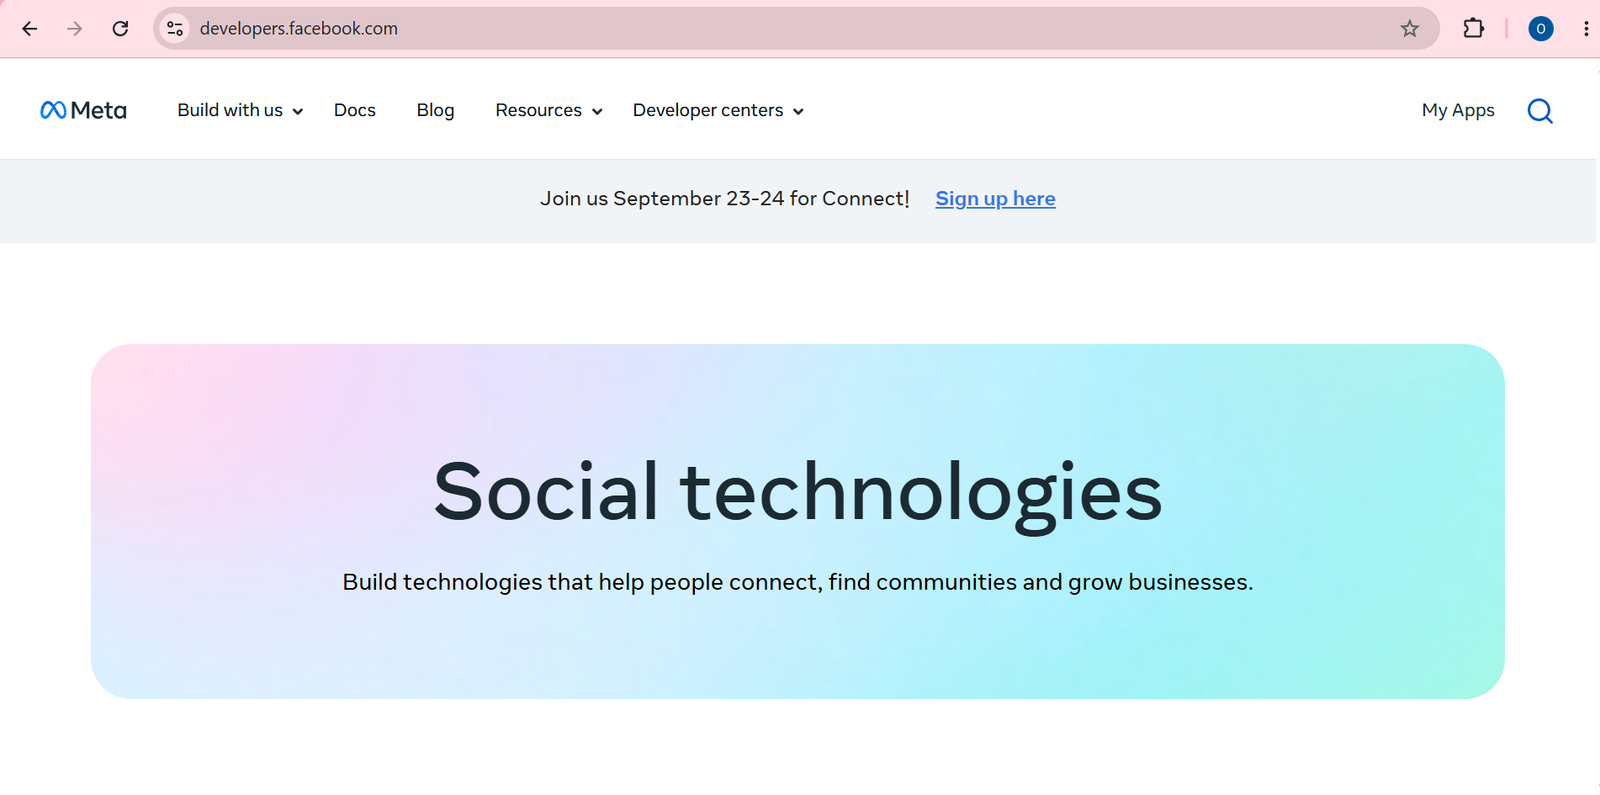
  1. Open https://developers.facebook.com
  2. Login using your Facebook account.
  3. Create Facebook Developer Account.
  4. Your developer account is now ready.
  5. Click My Apps Button
2

Create a Business App

Create a new Meta Business application.
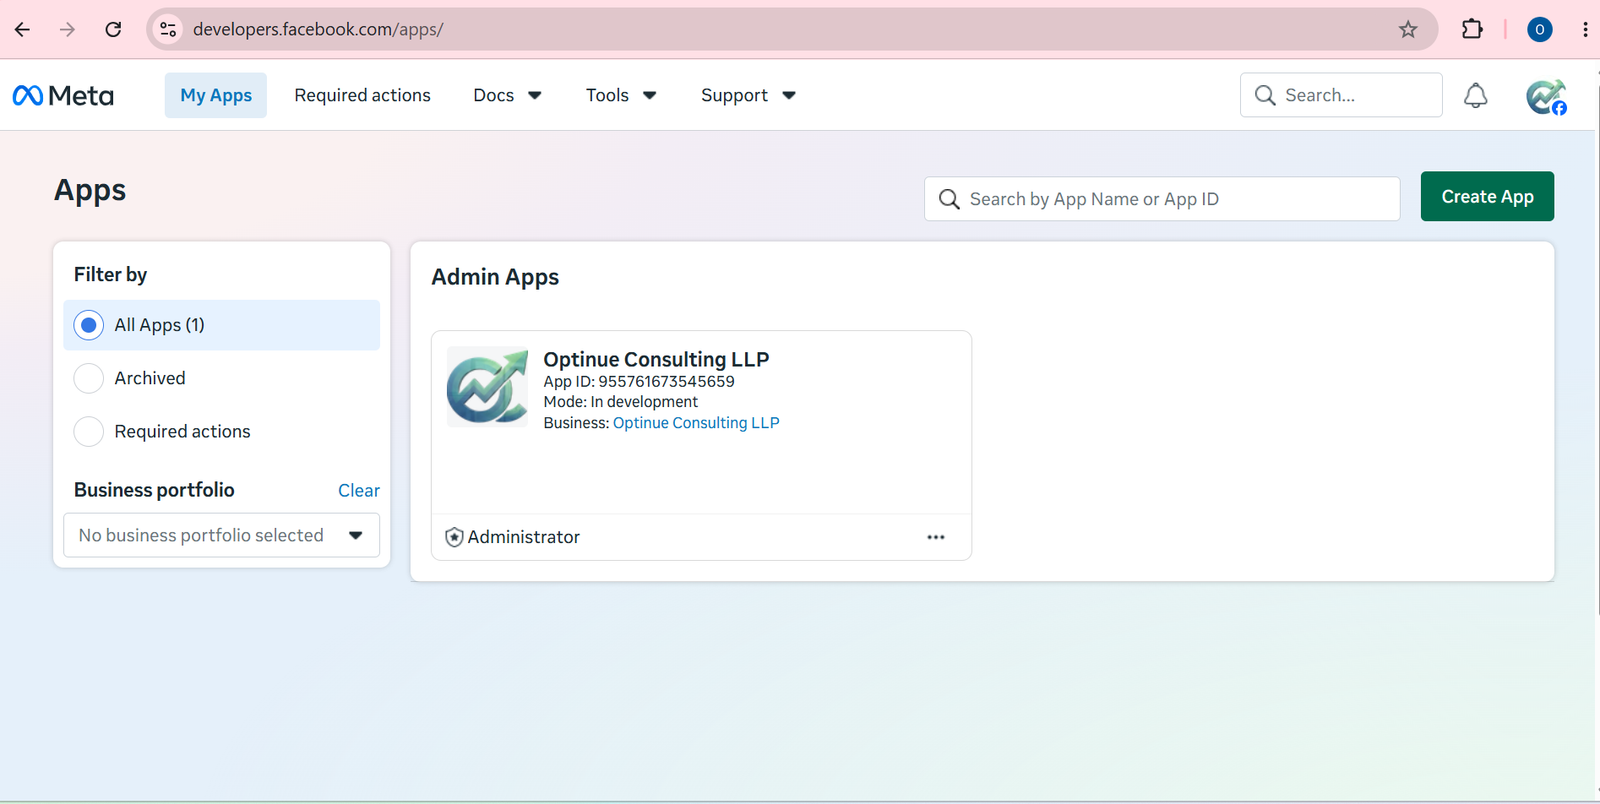
  1. Click Create App.
3

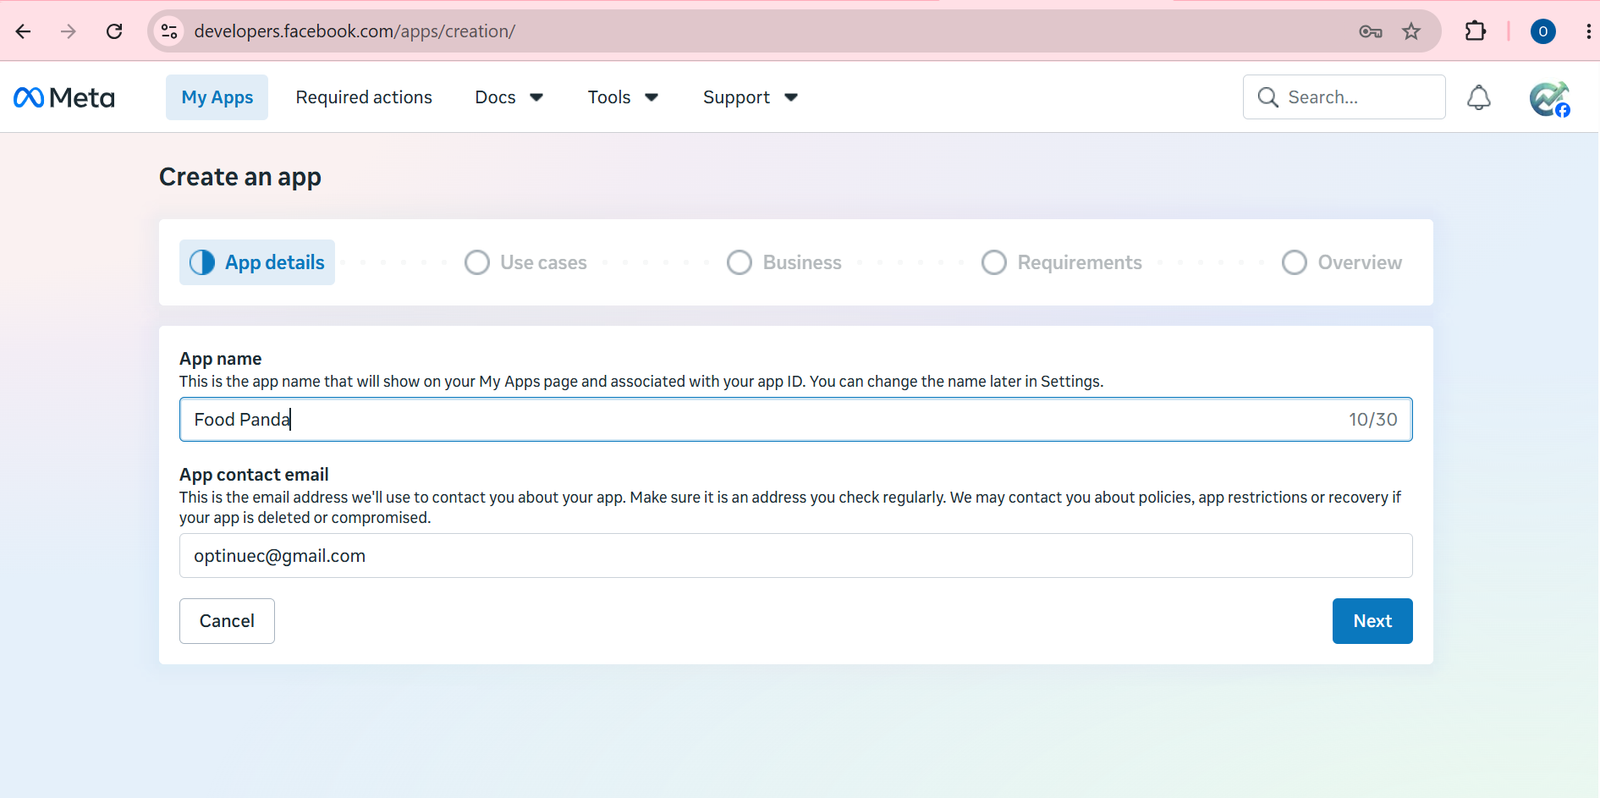
Fill App Details

Give your app details.

  1. Fill app name.
  2. Fill personal or business contact email.
  3. Click Next Button.
4

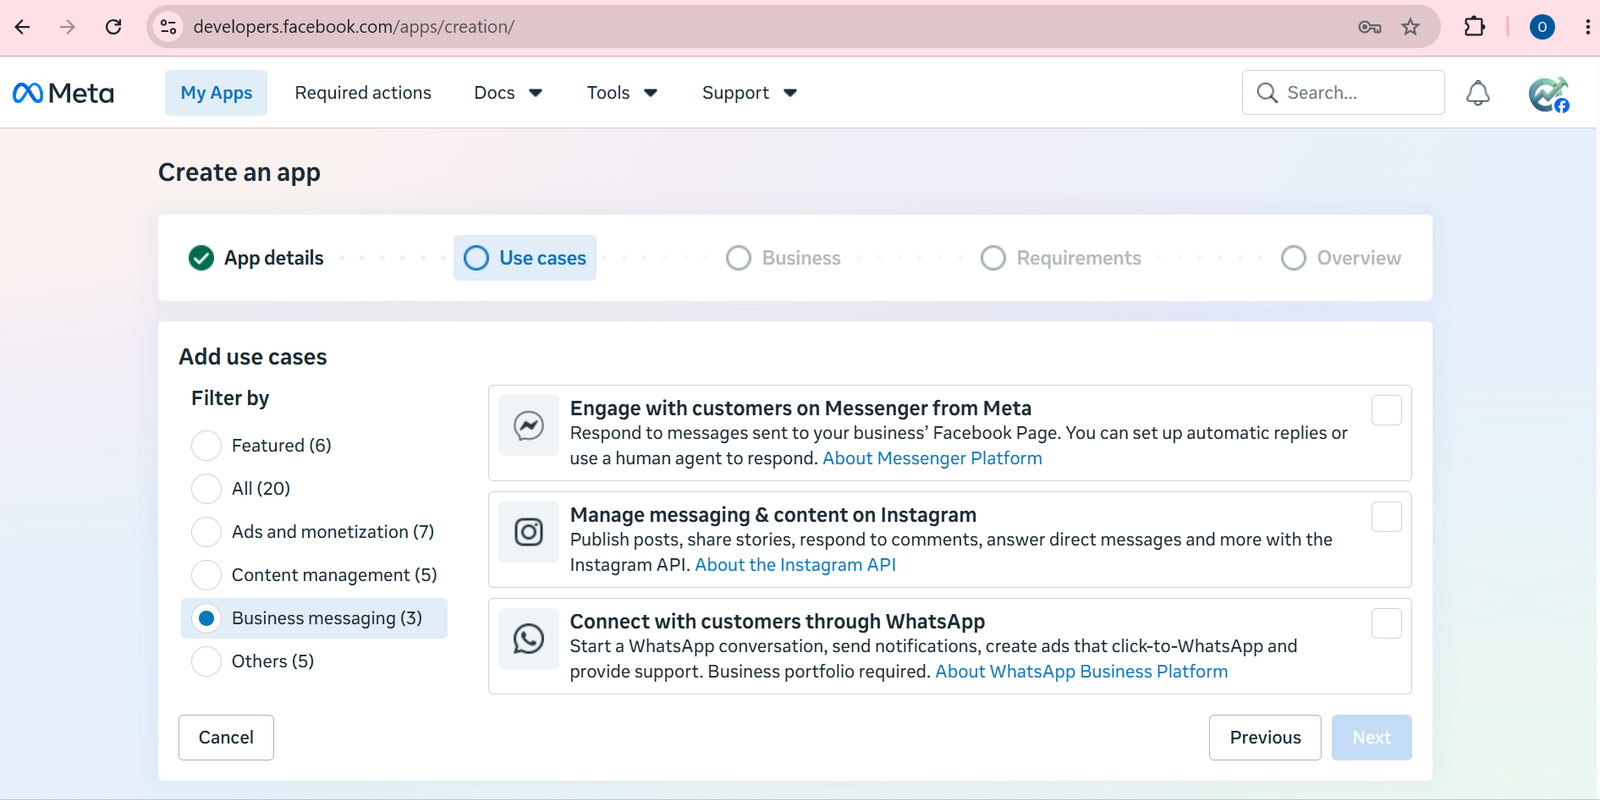
Use Cases

Choose the WhatsApp use case.

  1. Select Business Messaging from the left section.
  2. Select "Connect with customers through WhatsApp" from the right section.
  3. Click Next Button.
5

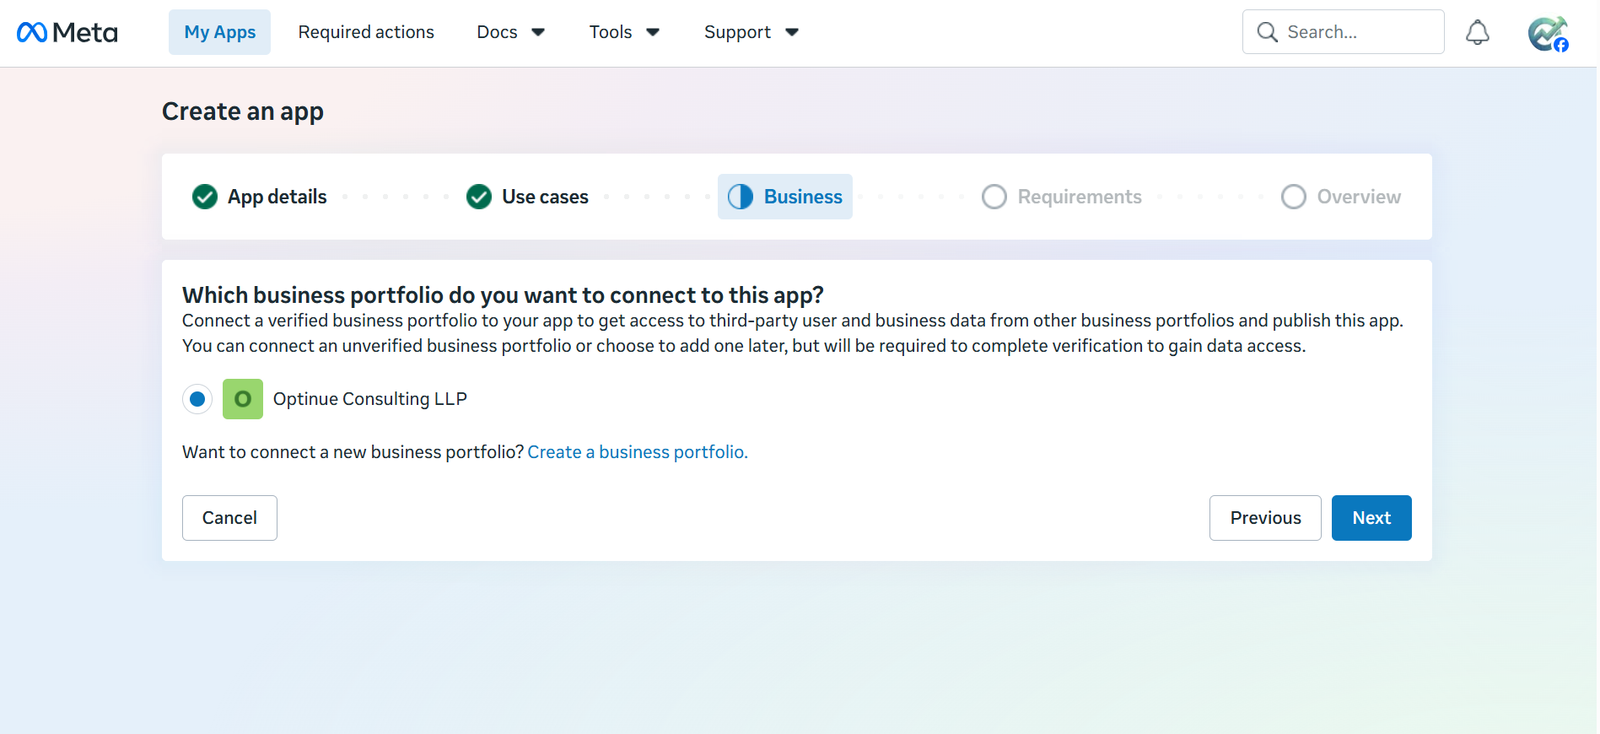
Business Portfolio

Add your business portfolio.

  1. Select an existing business portfolio if available or create a new one.
  2. Click Next Button.
6

Publishing Requirements

Complete the publishing requirements.
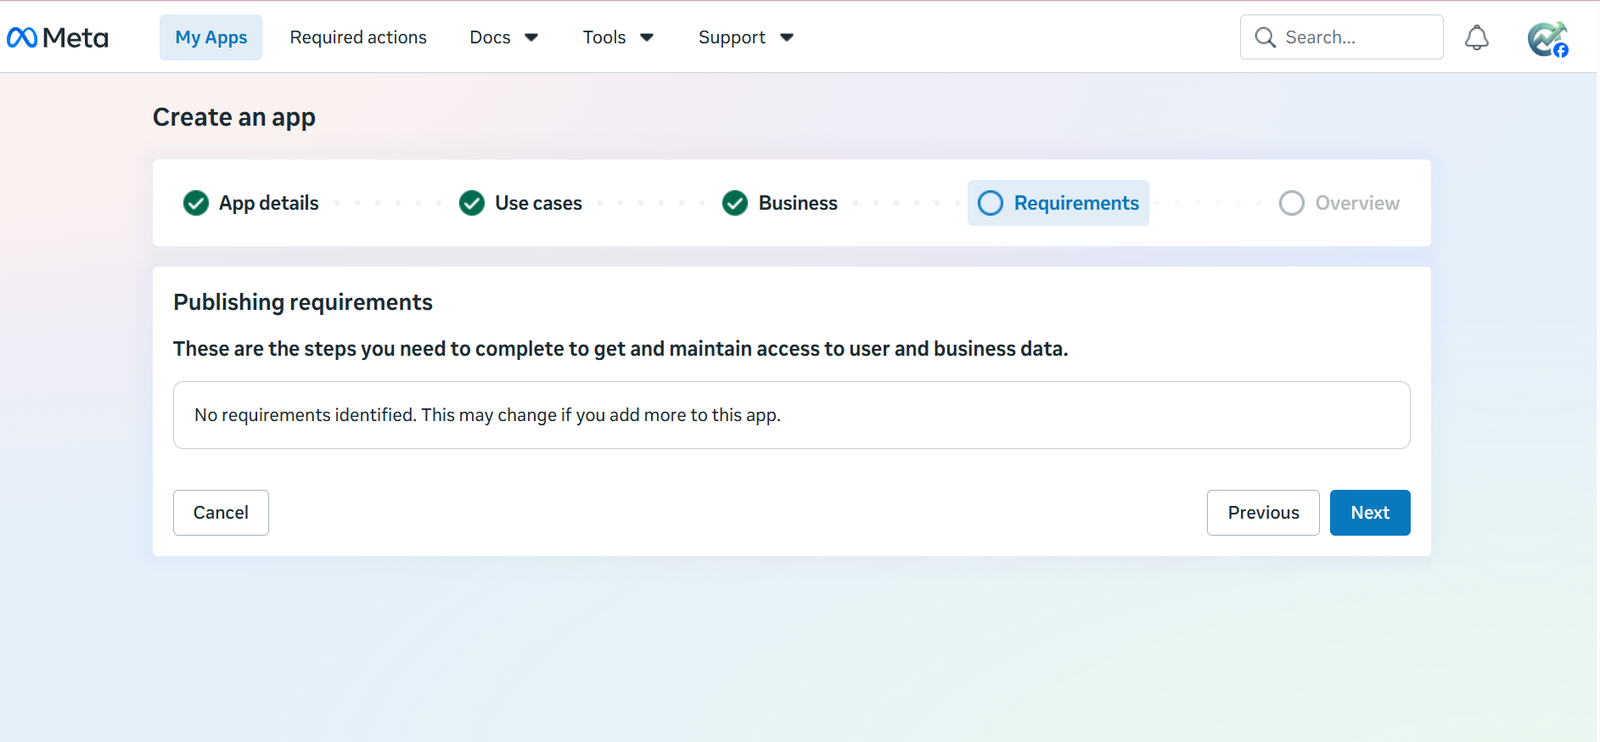
  1. Publish requirements if any are available.
  2. Click Next Button.
7

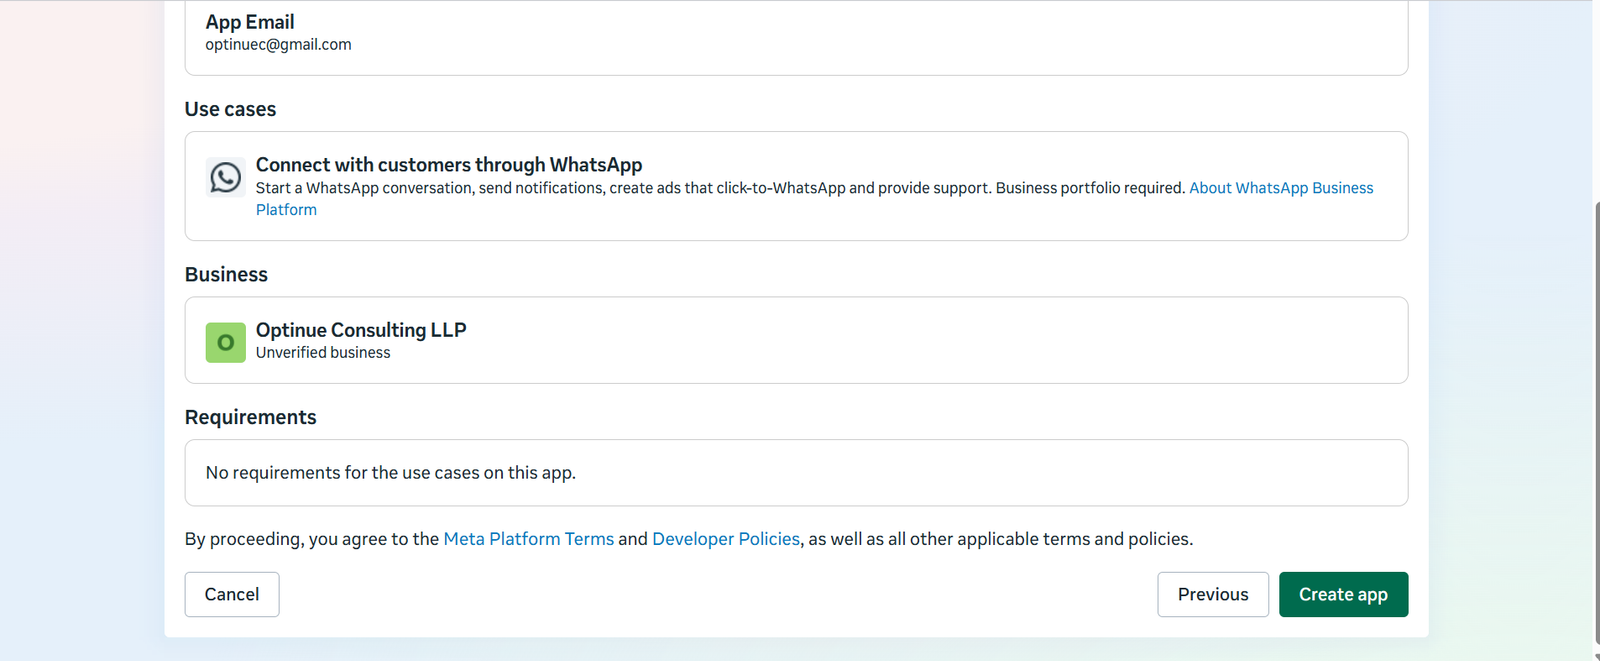
Overview

Look at a glance.

  1. Review your app details before creating the app.
  2. If everything is correct, click the Create App button.
8

Configure App

Setup WhatsApp configuration.

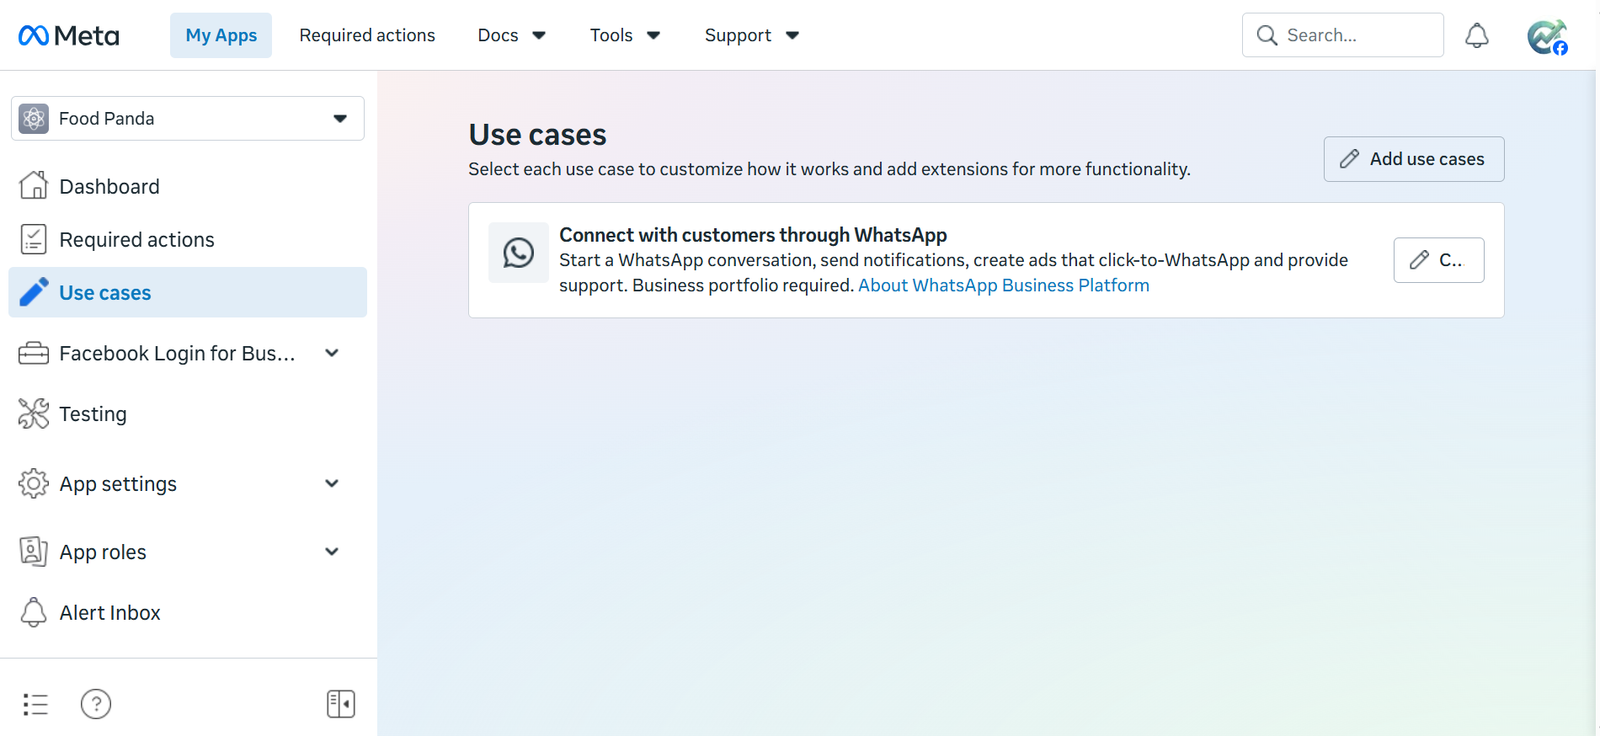
  1. Click the Use Cases menu from the left sidebar.
  2. Click the Edit button for "Connect with customers through WhatsApp".
9

Register New WhatsApp Number

Register your new WhatsApp phone number.
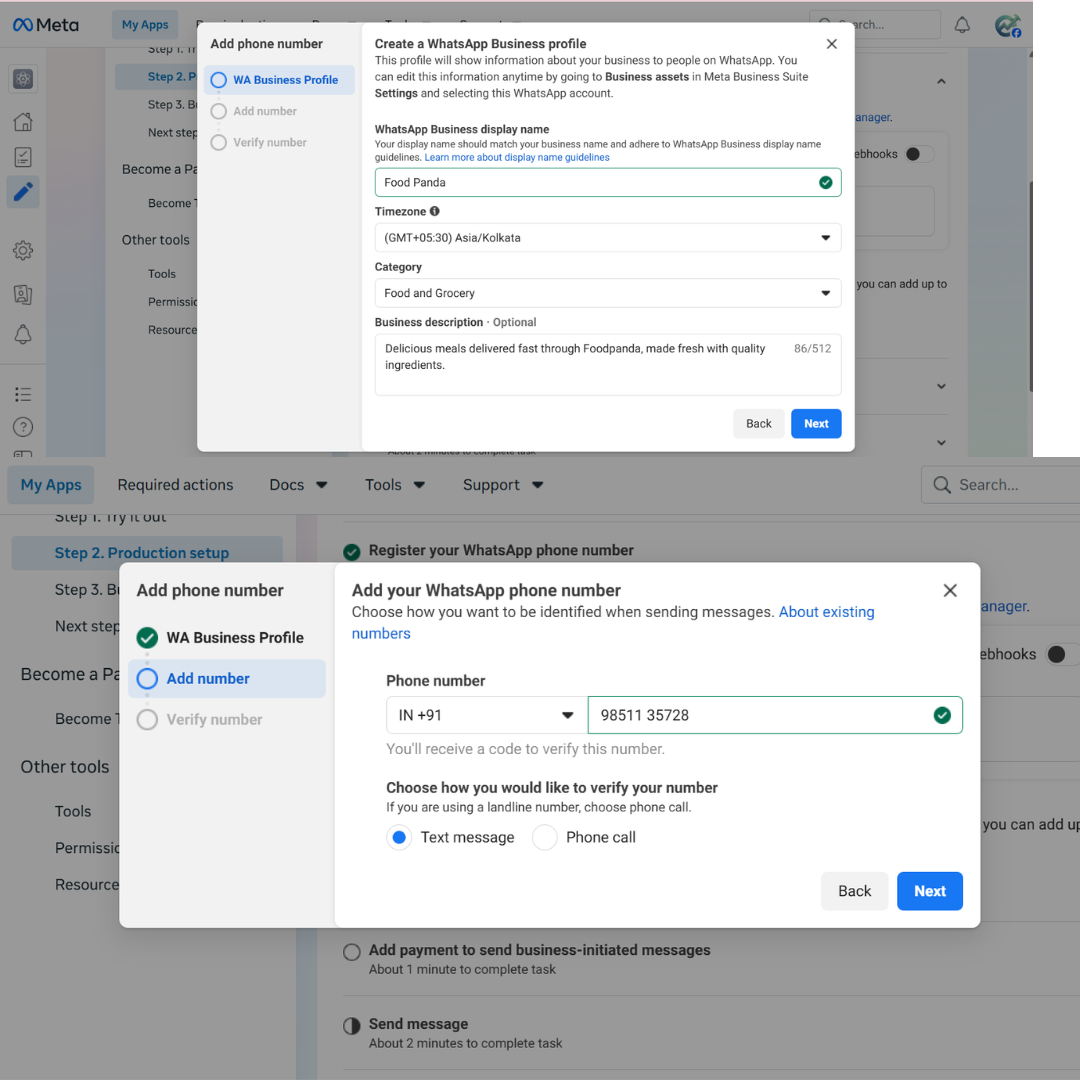
  1. Fill WhatsApp Business profile information and click Next.
  2. Add a new WhatsApp number and click Next.
  3. Verify the number by SMS or phone call.
  4. Complete the registration process.
  5. Copy the Phone Number ID. Use it in the Zentro Settings section and store it in a safe place for future use.
10

Generate Permanent Token

Generate a permanent access token and send a test message.
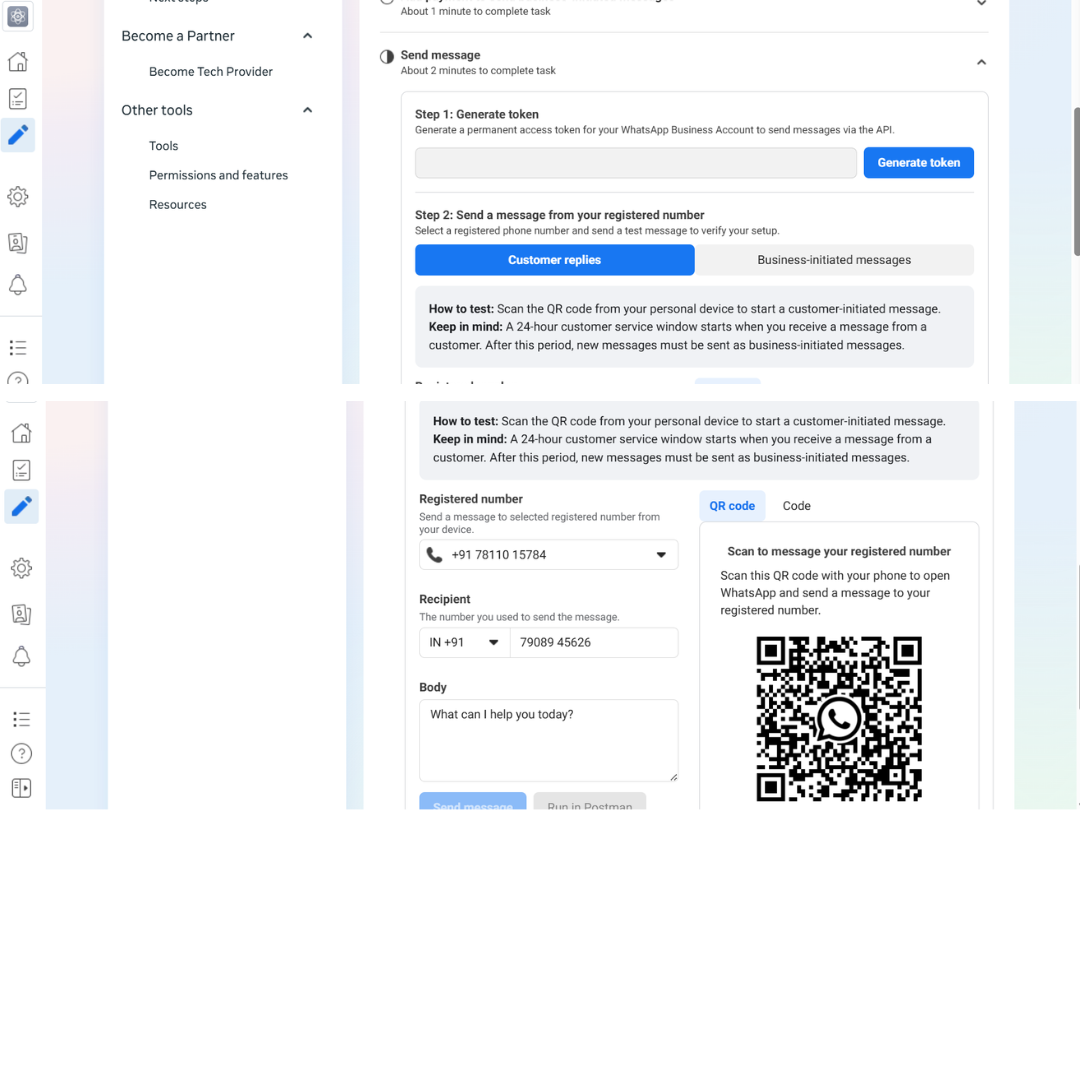
  1. Click the Generate Token button.
  2. Copy the permanent Access Token. Use it in the Zentro Settings section and store it in a safe place for future use.
  3. Enter any recipient WhatsApp number with the country code.
  4. Enter a message in the message body.
  5. Click the Send Message button.
  6. Congratulations! The recipient will receive your test message.

✔ Congratulations

If every step is completed you should now have:

  • ✅ WhatsApp Cloud API Enabled
  • ✅ Permanent Access Token
  • ✅ Phone Number ID
  • ✅ Business Account Connected
  • ✅ Ready to connect with Convo